Work is proceeding in several areas as Tim continues to stay ahead of the crew in
layout. Several crew members are moving into the fabrication of braces and dormer
timbers. In this report, we will see how some of this work is done
|
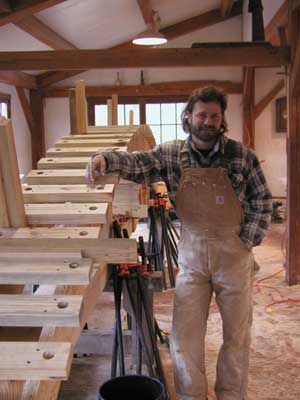
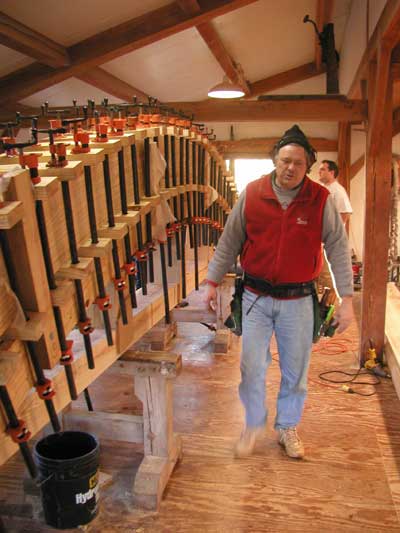
Meet Jim Holzknecht. Jim is a veteran of Red Suspenders having started his timber
framing career with us many years ago. Jim has rejoined our crew for this project
to add his expertise and help. You may have noticed Jim working with the crew during
the lamination process in Report #8. This picture was taken just before lamination
began, hence the lack of boards on the form.
|
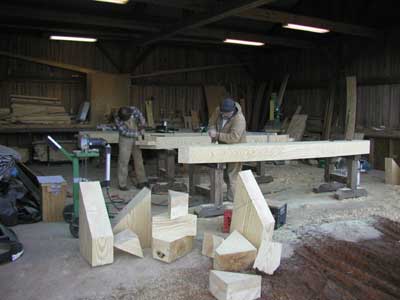
Jim and Arvel have set up shop in "Braceland" and are working on the chapel
arch timbers. You can see by the number of "end pieces" that they have
produced a lot of arches and we will follow the production of one arch.
Ask a question:
Tell me more about Braceland
|
|
|
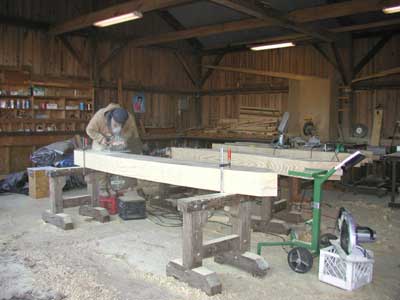
Arvel has already made the initial end cuts and first radius cut on this chapel
arch timber. He will now make the final radius cut that will define the curvature
of the arch.
|
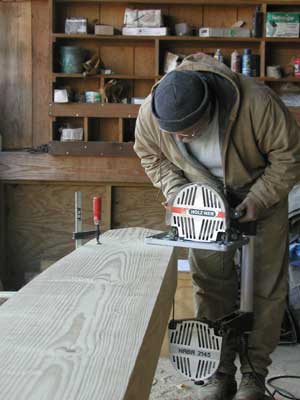
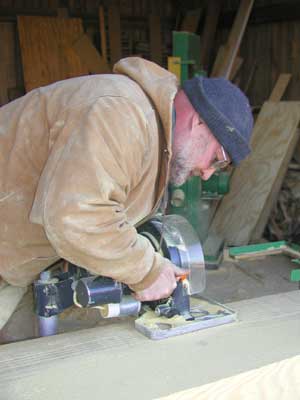
Arvel is using a German made Holzer portable, hand held, band saw to make this inside
radius cut. The Holzer was specially made for cutting timbers and in skilled hands,
it can produce very intricate cuts.
Portable tools like the Holzer allow us to take the tool to the timber rather than
take the timber to the tool.
|
|
|
Arvel follows the cut line closely, stopping often to check his work. A steady hand
is required to handle the Holzer.
|
|
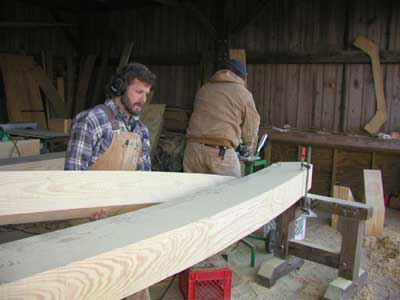
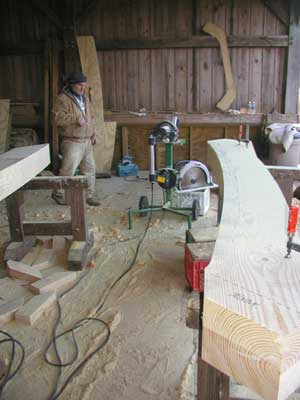
Jim lifts away the cutout as Arvel puts away the saw.
|
|
|
You can now easily see the curvature of the timber once the cutout has been removed.
This curved arch section was cut from a single timber.
|
|
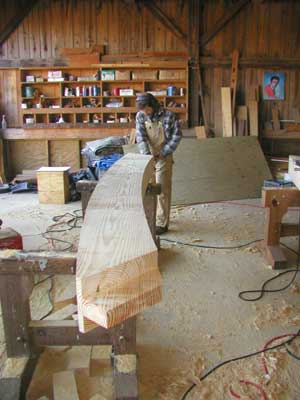
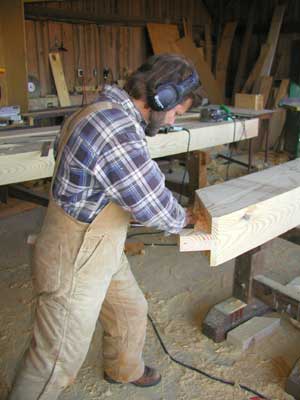
Once the arch is defined, then the tenons are cut. Jim is finishing the tenons on
the arch timber that was just cut. Of course, you can see a picture of the "King
of Rock and Roll" hanging on the shop wall... hence the name "Braceland"!
And that's my final answer.
|
|
|
Jim is planing the arch tenon down to the final dimension lines and chamfering the
edges so the tenon will slide into place when the frame is erected. The arch timber
will receive a final hand finish before it is consider complete.
|
|
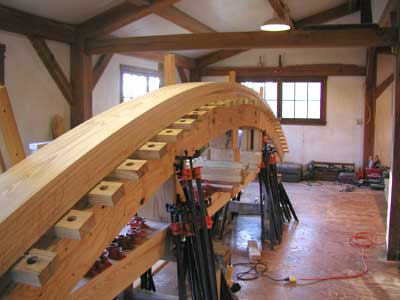
Back in the shop, the clamps have been removed from the first stage assembly of
the laminated arch. The results are up to expectations and the arch looks very good.
It is now ready for stage two.
|
|
|
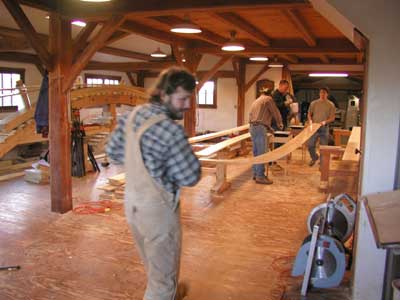
The crew has mixed the epoxy and started loading the form with laminate. You can
see in this image that the laminating boards are very flexible so that they will
conform to the radius of the arch.
|
|
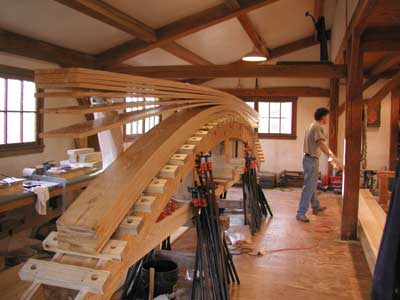
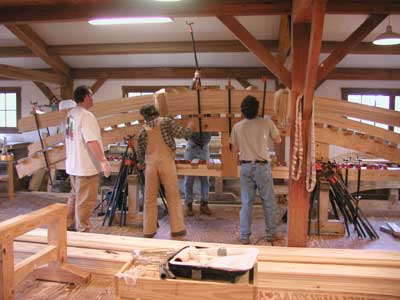
Most of the epoxy coated boards have been set upon the form to build up the thickness
of the arch. You can see the pipe clamps at the ready next to the arch form.
|
|
|
The clamping process begins just as in stage one but the thickness of the arch is
a lot greater and it is more difficult to position the pipe clamps.
|
|
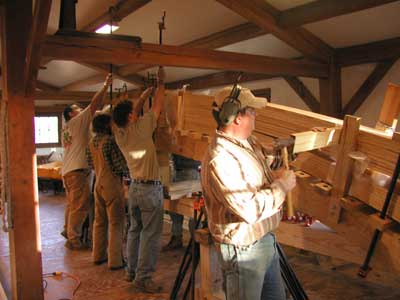
Doug tamps the laminate into position against the guides as the crew applies more
clamps and tension to the laminate material.
|
|
|
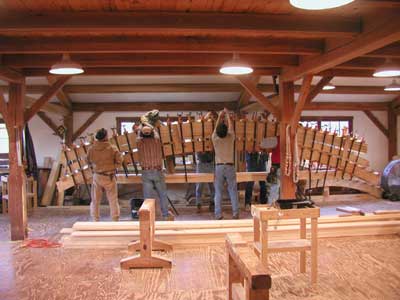
All of the clamps are in place and the final tensioning begins. You can get some
appreciation of the arch size when you consider that each bent in the chapel will
have two of these arches placed on opposite sides.
|
|
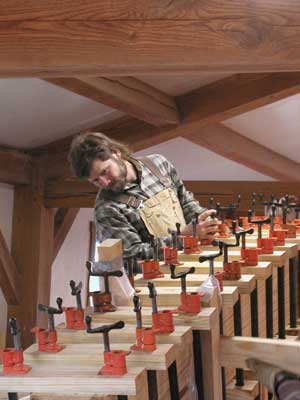
Jim checks the final tension on the pipe clamps. Everything looks good at this point.
The laminated arch will cure overnight in the shop. Once it has been removed from
the form, it will be handled as if it were always a solid timber. We will see how
the joinery is cut into the laminated arch in a following report.
|
|
|
It's been a hard day but we are very pleased with the results. We will be building
one laminated arch each day for the next few days until we get all of the arches
built.
There are more reports to come as we follow the crew through the final fabrications
stages of the chapel frame.
|